How-to
How to run Shopify Price & Stock Change Tracker
Step-by-step: the exact input, what each field does, and the real rows that come back from public storefront.
You are watching a handful of Shopify stores — competitors, suppliers, or your own brands — and what
you actually want to know is not what they sell today. It’s what moved since yesterday: which SKU
dropped 20%, which sold out, which came back, which product quietly appeared. The manual version of
that job is opening each store’s /products.json in a browser tab every morning and eyeballing a
few thousand lines of JSON against yesterday’s copy. Anyone can do it — the endpoint is public and
takes no login — but nobody does it twice a week, let alone every day across five stores. This actor
reads the same public endpoint on a schedule, keeps a snapshot of each store, and hands you one row
per real change.
What you’ll need
Nothing but an Apify account. The actor talks to public storefront directly.
No API key, no CAPTCHA credits, no Shopify permissions of any kind: /products.json is a public
storefront endpoint that any browser can load. The proxy toggle is off by default and rarely needed —
refusals are retried at the store’s <handle>.myshopify.com origin instead — most Shopify storefronts answer a plain request
without complaint.
Step 1 — Open the actor
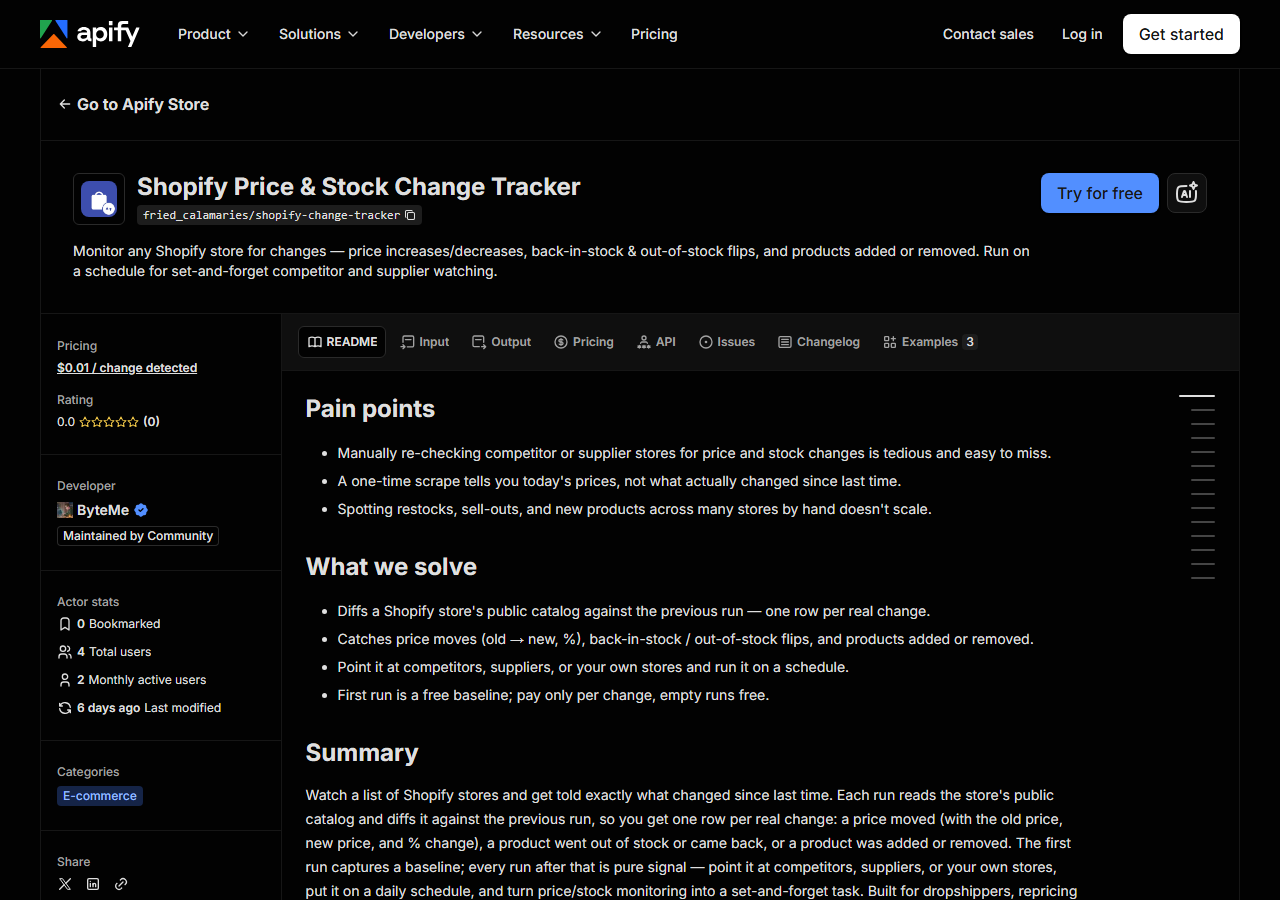
Open Shopify Price & Stock Change Tracker on the Apify Store and press Try for free. The actor’s own page on this site lists its live health and pricing.
Step 2 — Fill in the input
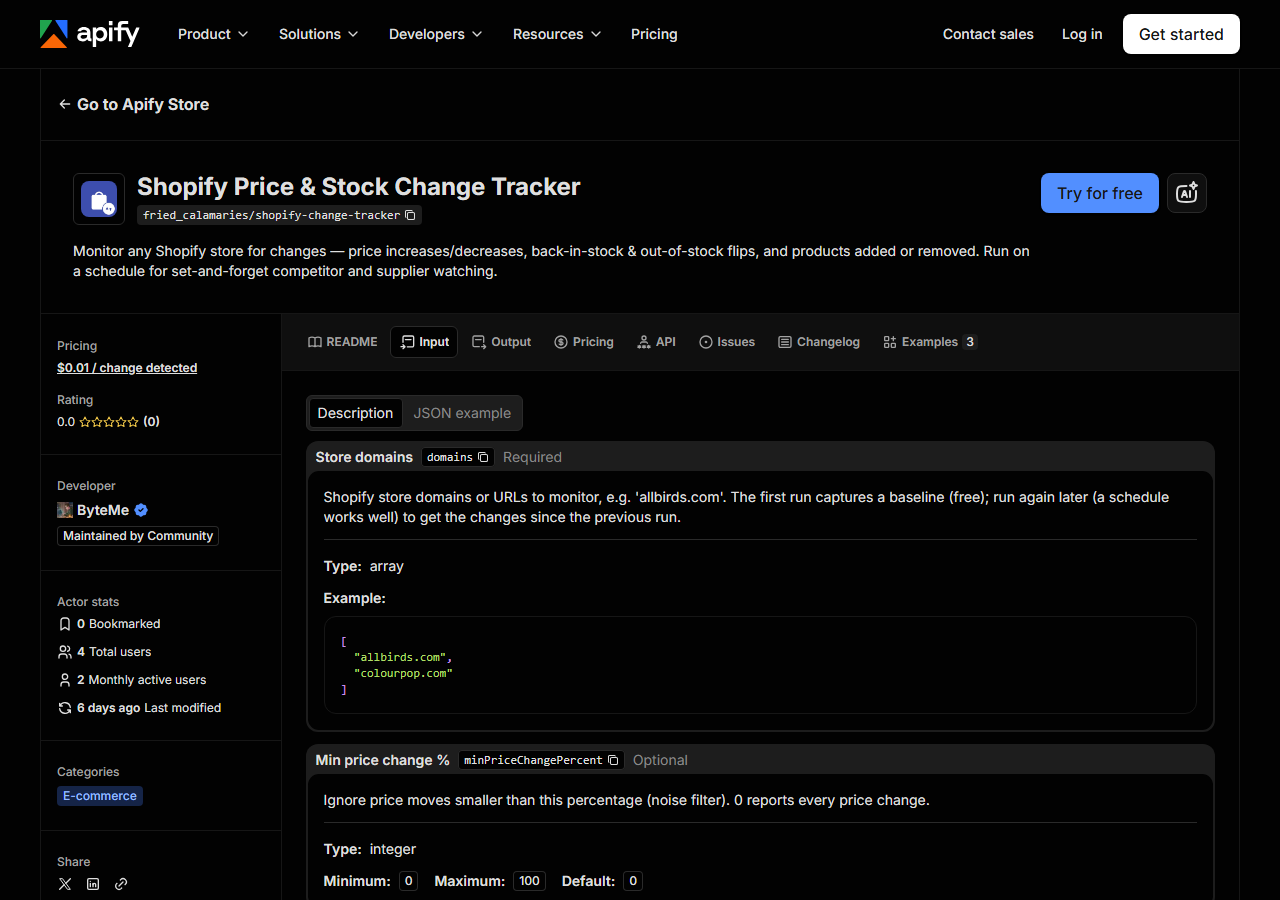
| Field | Type | Required | What it does |
|---|---|---|---|
domains | array | yes | Shopify store domains or URLs to monitor, e.g. ‘allbirds.com’. The first run captures a baseline (free); run again later (a schedule works well) to get the changes since the… |
minPriceChangePercent | integer | no | Ignore price moves smaller than this percentage (noise filter). 0 reports every price change. |
maxProductsPerStore | integer | no | Cap on products sampled per store (bounds cost). Very large catalogs are sampled up to this many products. (default 2000) |
Two fields decide what you get back. domains is the list of stores; each one is tracked
independently, with its own stored snapshot, so adding a store later doesn’t disturb the others.
minPriceChangePercent is the noise filter: at 0 you’re told about every price move, including a
$105.00 → $104.95 rounding twitch. Set it to 5 and price moves under 5% are dropped before they
ever become a row — which matters, because rows are what you pay for. It only filters price changes;
stock flips and product add/remove are always reported. maxProductsPerStore caps how much of a big
catalog gets sampled (default 2000) — leave it unless you’re tracking a store with a very long tail
and want to bound cost.
The thing first-timers get wrong is expecting changes on run one. There aren’t any, and there can’t be — see step 3.
A working input:
{
  "domains": [
    "allbirds.com",
    "colourpop.com"
  ],
  "minPriceChangePercent": 0
}
Step 3 — Run it
Press Start. Rows are pushed to the dataset as they’re found, so the run log fills in as it works.
The first run for a store is a baseline. There is nothing to compare against yet, so the actor
reads the catalog, stores a snapshot of it, and emits a single baseline row telling you how many
products it is now tracking. That row is free. No changes, no charges — this run exists purely to
give the next one something to diff against.
From the second run on, the actor fetches the catalog again and compares it, variant by variant,
with the snapshot it kept. Every store gets one free snapshot heartbeat row (with
changes_found on it, so a quiet run is visibly quiet rather than mysteriously empty), followed by
one row per change found. A run where the store didn’t move returns just that heartbeat and costs
you nothing. That is the normal state of a healthy schedule: mostly quiet, occasionally loud.
So run it once now, and again after the store has had time to change something — then put it on a
schedule (daily is the usual choice) and stop thinking about it. If a store shows up with
change_type: unavailable, that store has disabled /products.json; that row is free too, and
nothing is stored for it.
Step 4 — Read the output
Each run returns a labelled table, not raw JSON:
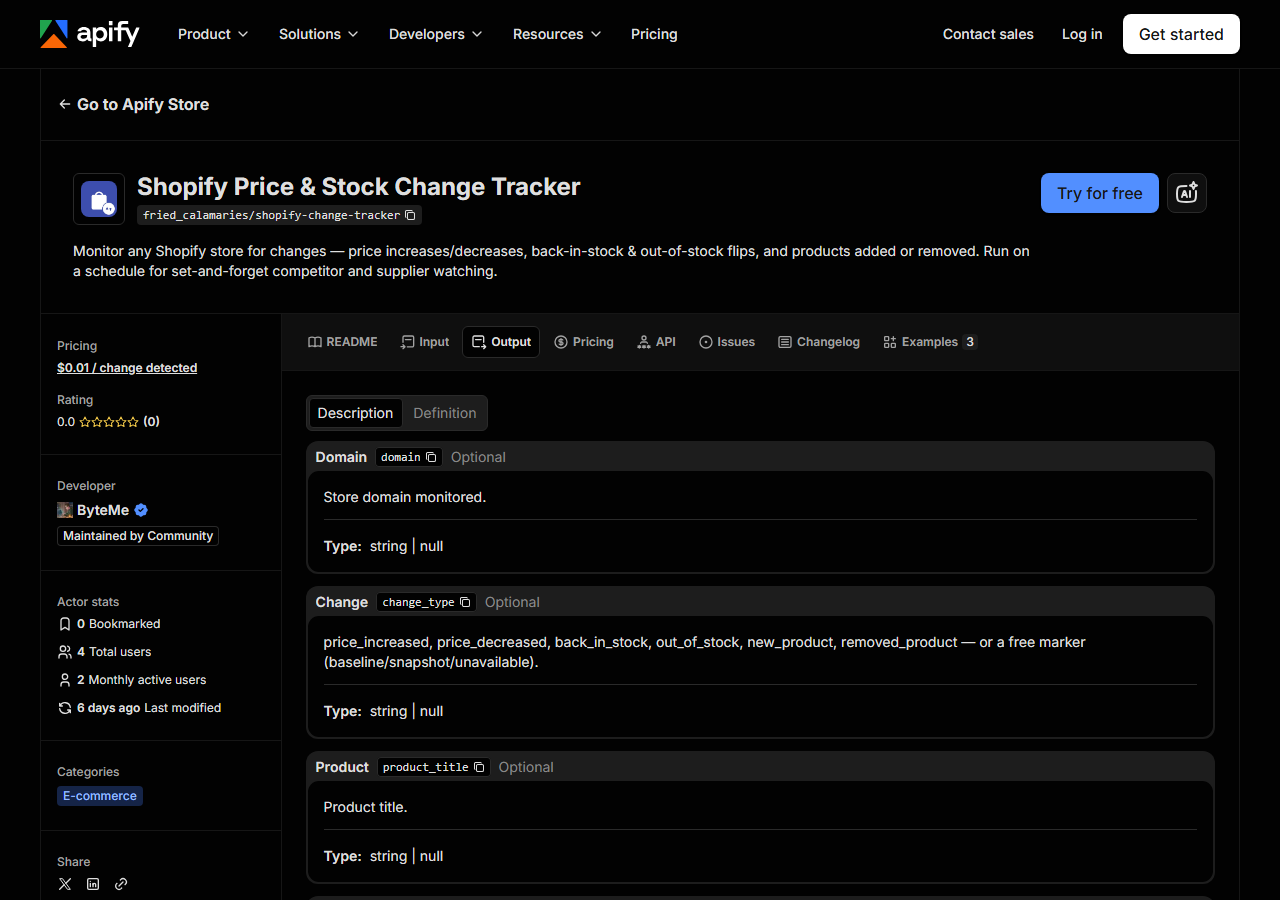
Every row looks like this — a real row from a real run:
{
  "domain": "allbirds.com",
  "change_type": "price_decreased",
  "product_title": "Wool Runner",
  "product_handle": "wool-runner",
  "product_id": 100,
  "variant_sku": "WR-9-GREY",
  "variant_id": 1001,
  "old_price": 110.0,
  "new_price": 88.0,
  "price_change_pct": -20.0,
  "old_available": null,
  "new_available": null,
  "tracked_products": null,
  "changes_found": null,
  "detected_at": "2026-02-01T00:00:00+00:00",
  "source_url": "https://allbirds.com"
}| Field | Example value | Meaning |
|---|---|---|
domain | allbirds.com | Store domain monitored |
change_type | price_decreased | price_increased, price_decreased, back_in_stock, out_of_stock, new_product, removed_product (or a free baseline/snapshot/unavailable marker) |
product_title / product_handle | — | The product that changed |
variant_sku / variant_id | — | The specific variant, for price/availability changes |
old_price / new_price | — | Price before and after the change |
price_change_pct | -20.0 | Signed percentage price change |
old_available / new_available | — | Stock status before and after the change |
tracked_products | — | Products tracked this run (on heartbeat rows) |
change_type is the field everything else hangs off. It’s one of six billable values —
price_increased, price_decreased, back_in_stock, out_of_stock, new_product,
removed_product — or one of the free markers (baseline, snapshot, unavailable). Filter on it
first, then read the columns that matter for that type.
That’s also why so many cells are null. A price row carries old_price, new_price and
price_change_pct, and leaves the availability columns empty; a stock flip carries old_available
and new_available, and leaves the price columns empty. tracked_products and changes_found only
appear on the free heartbeat rows. variant_sku is whatever the store typed into Shopify — plenty
of merchants leave it blank, so key on variant_id if you need something stable, and treat the SKU
as a label for humans.
Step 5 — Export it
Open the Dataset tab and export to CSV, JSON, or Excel — or pull the same rows from the API, which is what you want if this is going to run on a schedule.
What it costs
$0.01 per change detected — 1,000 changes is $10.00. That’s the whole pricing model: you pay per
change, not per run and not per product tracked. The baseline row, the per-store heartbeat row, and
the unavailable marker are all free, so a first run costs nothing and a run where a store held
still costs nothing. Polling is free; movement is what you’re buying. A daily schedule on a stable
catalog can sit at zero for days and then bill you for the fifty rows of a sale going live.
(Apify’s own platform compute is billed separately, per your plan.)
If a change is worth less than a cent to you — a $0.05 wobble on a $105 shoe — raise
minPriceChangePercent so it never becomes a row.
Where the data comes from
This reads public storefront directly. The target is Public storefront JSON. Every night a canary runs this actor against that live source and diffs the result against a frozen fixture — what “verified” means.
Be clear about what that source is: /products.json is a public endpoint Shopify serves on most
storefronts, and nothing here is privileged access. You could open it yourself and read it. What
makes it annoying is everything around the read — it paginates 250 products at a time, it hands back
raw JSON with every variant of every product inline (the screenshot in the use-case articles is what
that actually looks like), and it is a snapshot, not a history: it tells you today’s price and
nothing about yesterday’s. All the work is in keeping a copy, comparing it, and reducing a few
thousand variants to the three lines that changed. Roughly 10–15% of stores turn the endpoint off
entirely, and those come back as unavailable rather than as a lie.
See it used
Monitor a Competitor’s Shopify Prices is the
repricing job — you want to know the moment a rival discounts. Track Restocks on a Shopify
Store is the buying job — you want the
back_in_stock row before everyone else gets it. Watch a Shopify Store for New
Products is the assortment job — every product
added or dropped, for trend-spotting.
If your question is about a store right now rather than over time — what apps it runs, what theme, where its stack has gaps — that’s a different actor: Shopify Store Audit & Tech-Stack Lead Scorer audits a store once. The usual pairing is audit first, then put the interesting stores on a watch.
Last updated 2026-07-13